Mesh Palette Tool
The unique set of needs that arises with each new project at Dots often requires us to fashion our own tools in order to best optimize our workflow. Given that our brand places great import on the art that goes into our games, we end up spending a considerable amount of time working with meshes, and many of these are modeled with the intention of being vertex colored. Vertex colored meshes are very efficient to render and can sometimes achieve a more graphic, painterly effect on low poly meshes than other types of shading options. One drawback, however, is the amount of time it takes the modeler to paint each vertex of a fairly elaborate mesh. While this process is acceptable if it can be done only once, it quickly becomes prohibitive in the event of needing to make color adjustments or palette changes, since doing so would entail repainting the mesh by hand. To address this we made a custom tool that allows us to generate a color palette from a mesh’s vertex color data. It is implemented as a Unity component called the Mesh Palette Maker.

Lets walk through the flow of the Mesh Palette Maker using this vertex colored mesh as an example.
The main export of this tool is an image, wherein each pixel represents a unique vertex color in the mesh; the mesh palette. The idea is that this palette image can then be color-corrected in Photoshop. For example we can tweak the brightness and contrast of the palette overall, tone down a single specific color, or even create multiple palettes to be used for day/night cycles.
When the Mesh Palette Maker component is added to this mesh’s game object it looks like this:
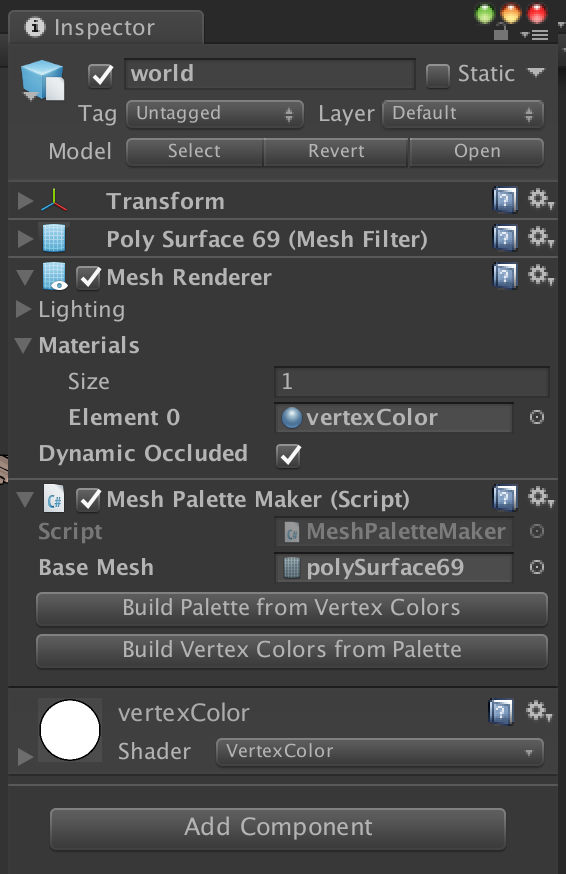
The complexity of the tool is hidden behind only two simple options: building a palette from vertex colors, and the return trip, building vertex colors from a palette. Notice the vertex color material used by the Mesh Renderer.
Building a palette from vertex colors in a user-friendly manner is a bit involved, so lets break it down.
The tool will create and add all necessary assets to the project, so before building the palette, here is a view of the Project window. Notice our mesh in a prefab called DemoWorld.
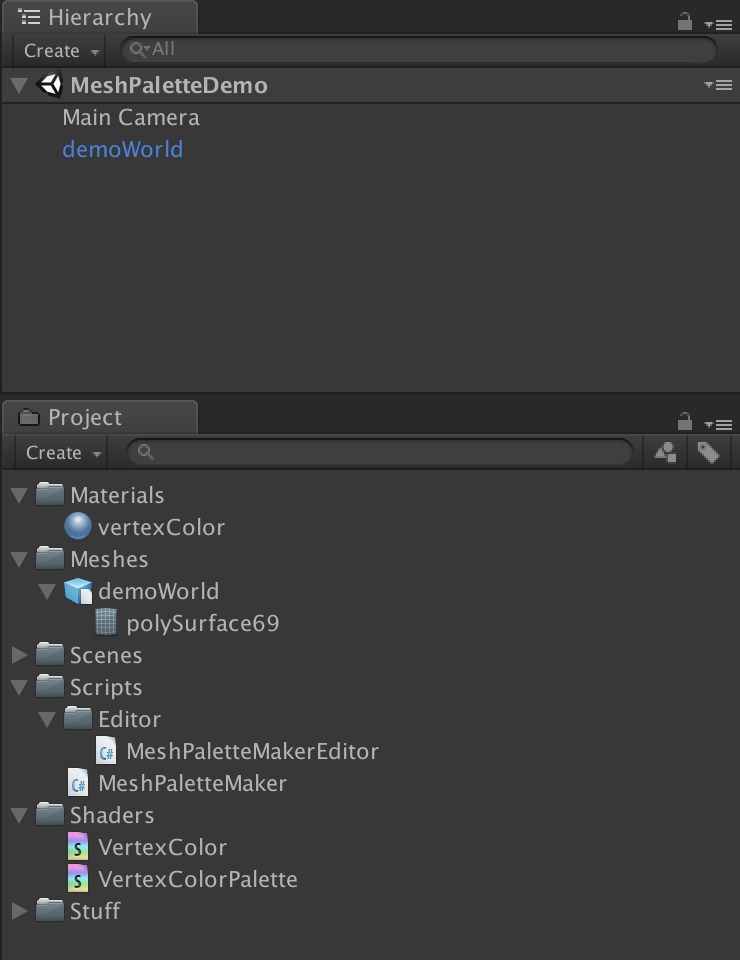
And now the same view after using the tool to create the palette:
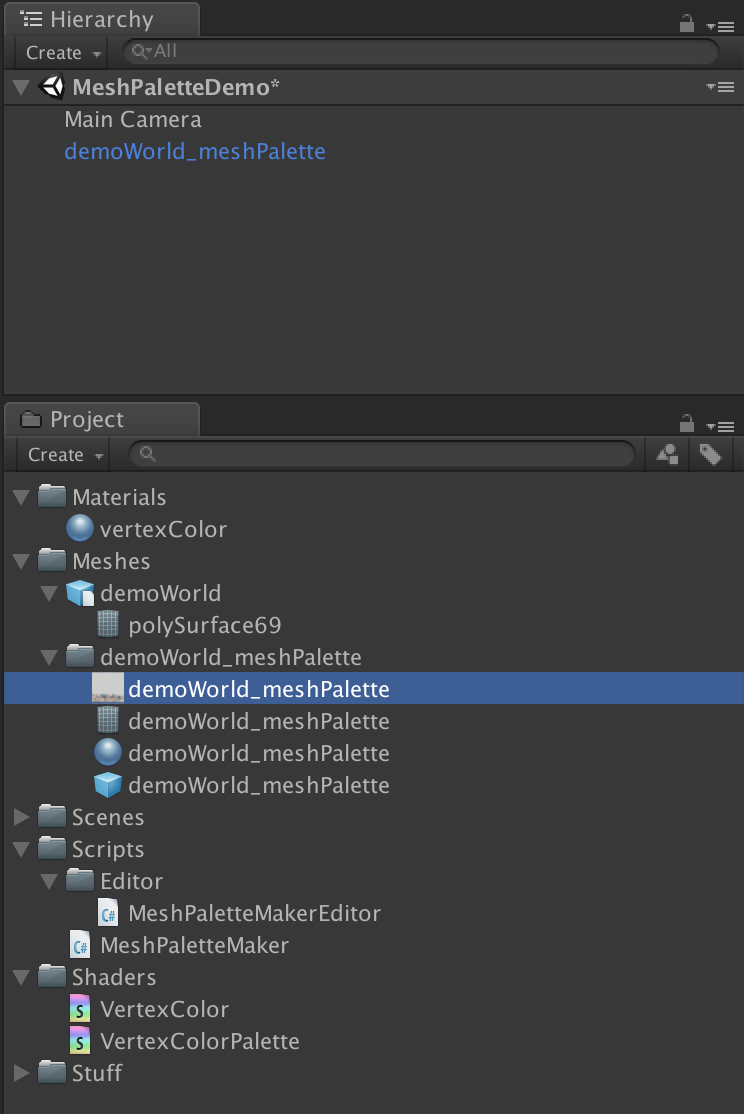
You can see that a directory has been created parallel the original mesh, and that it contains an image, a mesh, a material, and a prefab. We’ll go through what is involved with each of these starting with the palette image.
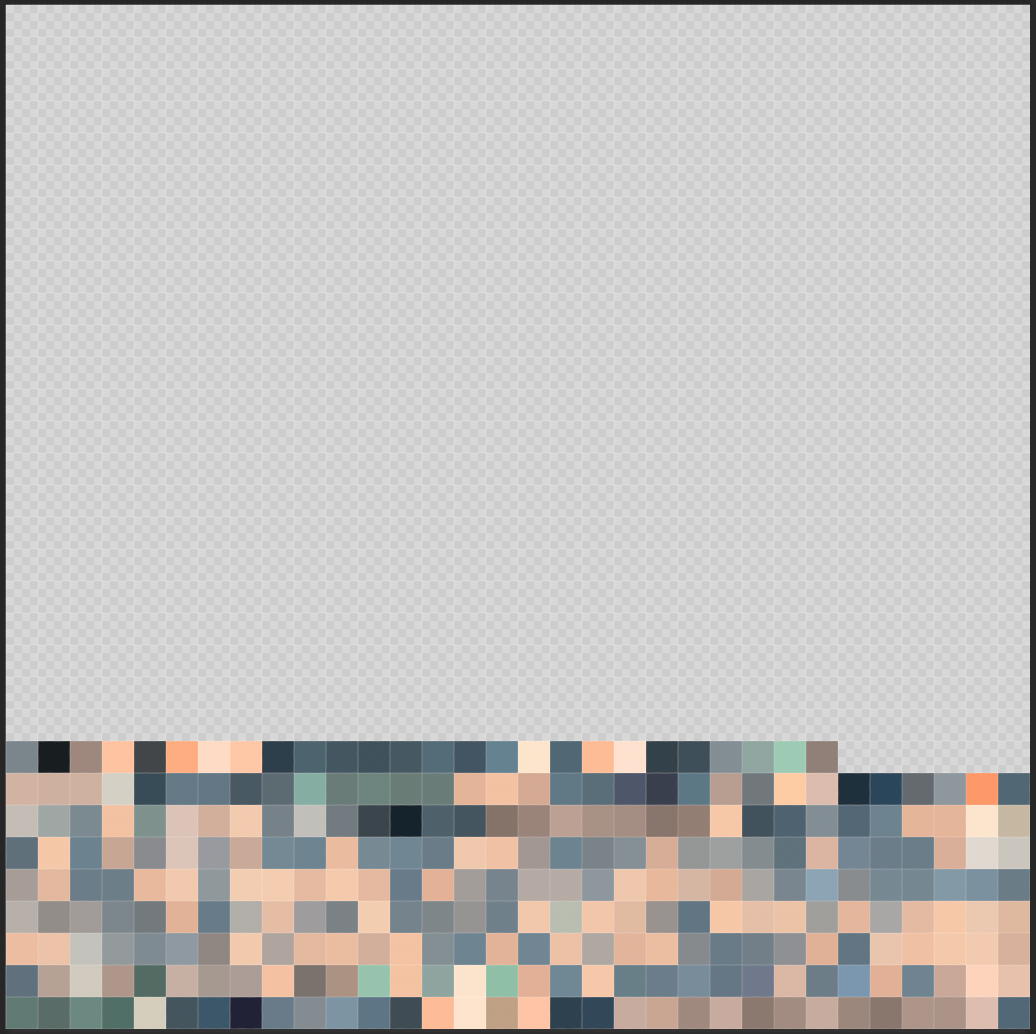
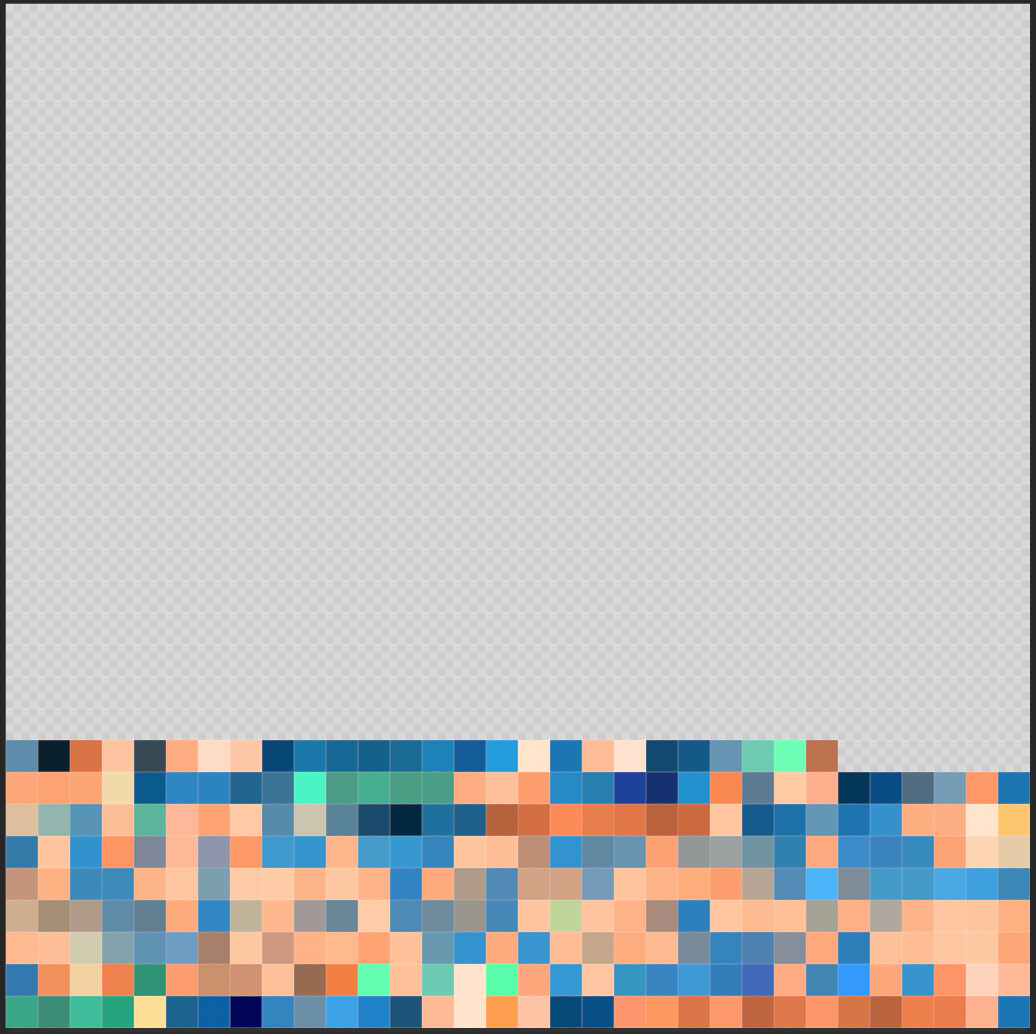
This particular mesh has 11,850 vertices, but only 282 unique colors, and these are what we want to extract. Since GPUs are optimized to work with square power of two textures, the tool will find the next largest power of two that will accommodate the unique color set. Since 282 just misses 16^2, an image of dimensions 32 by 32 will be created and its first 282 pixels filled with our palette colors. The image is written to disk and its appropriate import settings are set programatically. It ends up looking like this when zoomed in to the pixel grid in Photoshop:
The tool then copies the source mesh since its data will need to be altered in order to use the generated palette image. Specifically the uv’s of the copy are set to index into the generated palette image data, and its vertex color buffer is actually removed since it will no longer be needed. The idea is that each vertex will use its uv’s to look up its vertex color from the palette instead. Therefore, a material is now created and set up to use a custom shader capable of making this vertex texel fetch into the mesh palette.
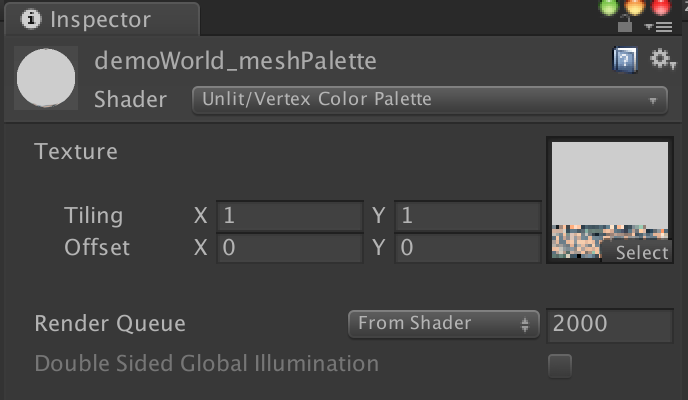
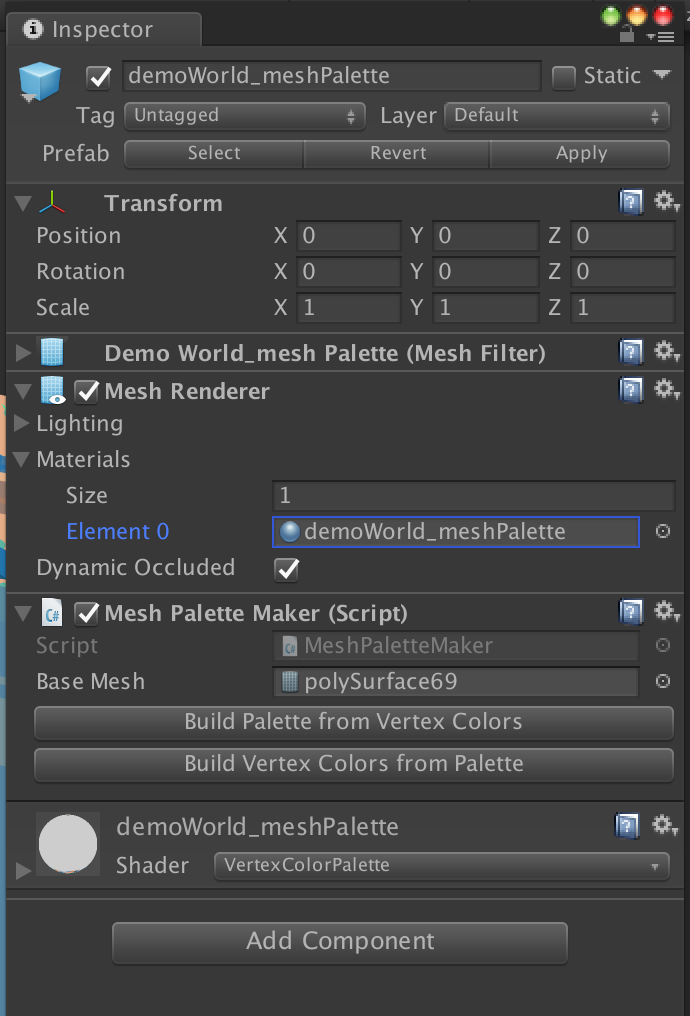
Lastly a prefab is generated which preserves the transform and all components attached to the original mesh’s game object. The prefab’s mesh filter is set to use the new mesh with our custom uv’s, and it’s mesh renderer set up to use the generated palette material. This prefab is hot-swapped with the original in the hierarchy, and there is no visible change in the scene view. The Inspector window for this new prefab looks like this:
Now for the intended application of the tool!
For demonstration purposes, let’s severely alter the palette image in Photoshop as such:
Super saturated.
Upon saving the changes to the image and moving back to Unity, the palette change is immediately reflected in the rendering of our customized mesh!

Once we are satisfied with the changes, we can use the ‘Build Vertex Colors from Palette’ option to reverse the process, which uses the palette to restore the mesh’s vertex colors, swapping back to the vertex colored material, and cleaning up all the temporary assets created by the tool.